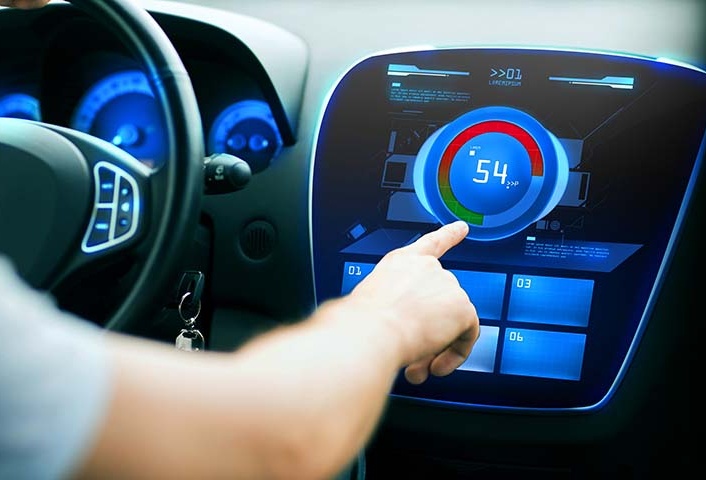

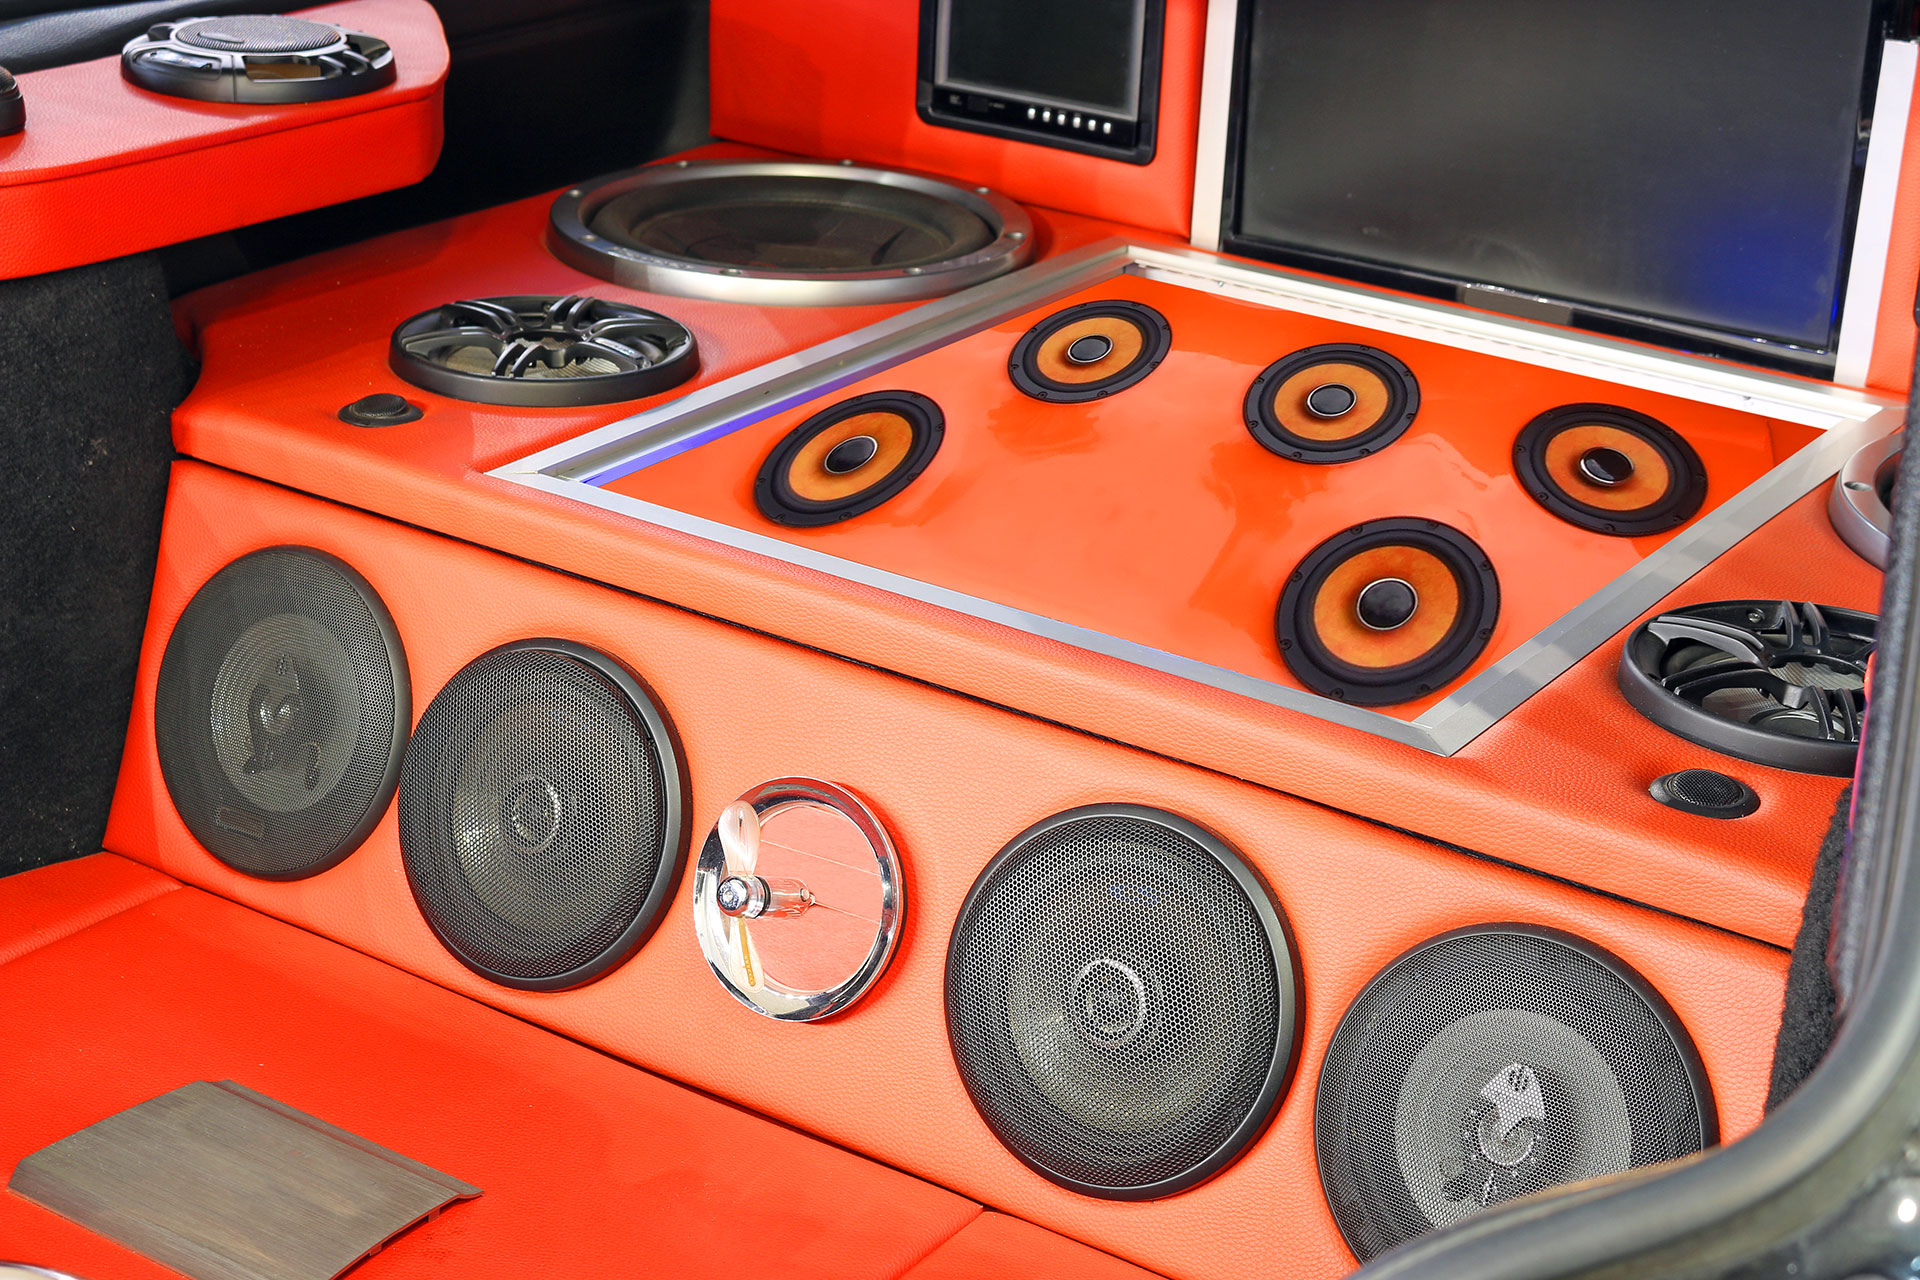
Upgrading your car stereo transforms your daily commute from mundane to magnificent, turning every drive into a personal concert experience. Whether you’re tired of static-filled FM radio, craving better bass response, or simply want to modernize your vehicle’s entertainment system, changing your car stereo is a rewarding DIY project that most car enthusiasts can tackle in an afternoon with the right tools and guidance.
Essential Tools and Materials for Changing a Car Stereo
Before diving into your stereo replacement project, gathering the proper tools ensures a smooth installation process. You’ll need a set of panel removal tools (plastic pry tools work best to avoid scratching), wire strippers, electrical tape, and a multimeter for testing connections.
Most importantly, you’ll need a wiring harness adapter specific to your vehicle’s make and model. This crucial component allows you to connect your new stereo without cutting factory wires, preserving your car’s resale value and making future upgrades easier. Additionally, consider purchasing a dash kit that helps your new stereo fit seamlessly into your dashboard opening.
Removing Your Old Car Stereo System
Start by disconnecting your car’s negative battery terminal to prevent electrical shorts or blown fuses. This simple safety step protects both you and your vehicle’s electrical system during the installation process.
Next, carefully remove the trim panels surrounding your stereo using the plastic pry tools. Work slowly and methodically, as these panels often have hidden clips that can break if forced. Once exposed, you’ll typically find four bolts or screws holding the stereo in place, remove these and gently slide the unit forward.
Behind the stereo, you’ll find several wire connectors and an antenna cable. Take a photo before disconnecting anything, as this reference will prove invaluable during installation. Disconnect each connector by pressing the release tabs, never pulling on the wires themselves.
Wiring Your New Stereo: Color Codes and Connections
Understanding wire color codes is crucial when changing a car stereo. Standard colors include yellow for constant 12V power, red for switched/ignition power, black for ground, and various colors for speaker connections (typically gray, white, green, and purple with striped variants for negative terminals).
Pro Tip: Always use crimp connectors or solder connections rather than just twisting wires together. This ensures reliable, long-lasting connections that won’t cause intermittent problems down the road.
Match each wire from your new stereo’s harness to the corresponding wire on your vehicle’s adapter harness. Double-check each connection against your stereo’s wiring diagram before proceeding to the next wire.
Testing and Troubleshooting Common Installation Issues
Before securing everything in place, reconnect the battery and test your new stereo. Check that it powers on, all speakers work correctly, and features like balance and fade function properly. This preliminary test saves you from having to disassemble everything if something isn’t working correctly.
Common issues include no power (check your fuses and ground connection), speakers cutting out (verify speaker wire connections), or poor sound quality (ensure proper polarity on all speakers). When upgrading to a more powerful aftermarket unit, understanding whether your car audio system is built for actual power delivery versus just increased volume becomes crucial for achieving optimal sound quality without distortion or damage to your speakers.
Advanced Features and Modern Connectivity Options
Today’s aftermarket stereos offer features that dramatically enhance your driving experience. Apple CarPlay and Android Auto integration bring smartphone functionality directly to your dashboard, while built-in Bluetooth enables hands-free calling and wireless music streaming.
- GPS navigation with real-time traffic updates
- Backup camera compatibility for enhanced safety
- Multiple USB ports for device charging and media playback
- Customizable EQ settings and sound profiles
- Steering wheel control retention modules
- HD Radio and SiriusXM compatibility
Consider which features align with your needs and budget before making a purchase. Not every feature is necessary for every driver, but choosing the right combination enhances both convenience and safety.
Professional Installation vs. DIY: Making the Right Choice
While changing a car stereo yourself offers satisfaction and cost savings, certain situations warrant professional installation. Vehicles with complex infotainment systems, premium sound packages (like Bose or Harman Kardon), or extensive integration with vehicle controls may require specialized knowledge and tools.
Professional installers also provide warranties on their work and often have experience with vehicle-specific quirks that could stump a first-time installer. However, for standard replacements in most vehicles from the past two decades, DIY installation remains entirely feasible with patience and preparation.
Maximizing Your New Stereo’s Performance
After successfully installing your new stereo, take time to properly configure its settings. Adjust the high-pass filter settings to protect your speakers from damaging low frequencies they can’t reproduce. Set appropriate gain levels to prevent distortion, and use the built-in equalizer to compensate for your vehicle’s acoustic characteristics.
Consider future upgrades like adding an amplifier, subwoofer, or replacing factory speakers to fully realize your new stereo’s potential. These additions can be implemented gradually as budget allows, building toward a complete audio system transformation.
Successfully changing a car stereo opens the door to a vastly improved driving experience, whether you’re commuting to work or embarking on a cross-country road trip. With proper preparation, the right tools, and attention to detail, this upgrade transforms your vehicle’s cabin into a personalized entertainment space that reflects your audio preferences and technological needs.
The satisfaction of completing this project yourself, combined with the enhanced functionality and sound quality of your new system, makes the effort worthwhile for any car audio enthusiast ready to take their listening experience to the next level.